Contents:
- What Is the Microwave Flower Pressing Method? (Quick Answer)
- Why Microwave Flower Pressing Beats the Old-Fashioned Way
- Speed and Convenience
- Color Retention
- Flexibility
- What You’ll Need: Supplies and Safety
- Basic Equipment
- Optional Gear
- Safety Notes
- Step-by-Step: How to Microwave Press Flowers
- Prep the Flowers
- Make Your “Press Sandwich”
- Microwave in Short Bursts
- Cool and Finish
- Troubleshooting
- Best Flowers and Leaves for Microwave Pressing
- Microwave Flower Pressing in Floral Art and DIY Gifts
- Fast Wedding Keepsakes
- Greeting Cards and Scrapbooks
- Wall Art and Decor
- Microwave Flower Presses: What’s Worth Buying in 2026?
- Common Mistakes and How to Avoid Them
- Too Much Heat
- Wrong Paper
- Overcrowding
- Preserving and Displaying Your Microwave Pressed Flowers
- Storing for Later
- Sealing and Mounting
- FAQs about Microwave Flower Pressing
- How long does it take to microwave press flowers?
- What are the best flowers to press in the microwave?
- Is microwave flower pressing safe?
- Will microwave pressing work with leaves?
- Do I need a special microwave flower press?
- Ready to Try It? Make Your Next Flower Gift Last
Microwave Flower Pressing – Speed Method
Ever found yourself holding a perfect bloom and wishing it could last forever? Fresh flowers fade fast, but pressed flowers can capture their beauty for years. Traditional pressing takes weeks–but what if you could do it in under five minutes? That’s the magic of the microwave flower pressing speed method.
What Is the Microwave Flower Pressing Method? (Quick Answer)
Microwave flower pressing is a super-fast technique that uses your kitchen microwave and a simple flower press to dry and flatten blossoms in about 1-3 minutes. Unlike conventional pressing, which takes 2-4 weeks tucked in heavy books, microwaving removes moisture almost instantly–preserving color, shape, and detail. All you need are fresh flowers, absorbent paper, two microwave-safe tiles or plates, and rubber bands or a purpose-built microwave flower press (like the Microfleur, $29-$69 on Amazon). Perfect for crafters, florists, or anyone who wants immediate results.
Why Microwave Flower Pressing Beats the Old-Fashioned Way
A bouquet loses its vibrancy fast. Traditional pressing between the pages of a dictionary? Charming, but slow and sometimes moldy. Here’s how microwave flower pressing jumps ahead.
Speed and Convenience
- Traditional method: 2-4 weeks
- Microwave method: 1-3 minutes per batch
Dr. Bree Hamilton, florist and instructor at Portland Botanical School, points out:
“Microwave flower pressing is a game changer for workshops. You get stunning results in the time it takes to make a cup of tea.”
Color Retention
Heat locks in color. Compare a violet pressed in a book–usually faded, sometimes brown–with a microwave-pressed bloom: vibrant, true-to-life, and ready for framing.
Flexibility
No need for specialized presses–basic supplies suffice. And you can create pressed-flower art on demand, even as part of an afternoon project with kids.
At a Glance: Microwave vs. Traditional Flower Pressing
| Feature | Microwave Method | Traditional Method |
|---|---|---|
| Time to finish | 1-3 minutes | 2-4 weeks |
| Color retention | High | Medium-Low |
| Equipment needed | Microwave, paper, tiles or press | Heavy books, blotting paper |
| Mold risk | Low (if done carefully) | High (if humidity is present) |
| Scale | Small batches | Large batches possible |
| Skill required | Minimal | Minimal-Moderate |
What You’ll Need: Supplies and Safety
Basic Equipment
- Microwave: Any standard kitchen microwave will do (700W-1200W).
- Absorbent paper: White coffee filters, unprinted paper towels, or blotting paper–the less texture and no ink, the better.
- Microwave-safe tiles or plates: Two flat ceramic tiles (4-8 inches), glass microwave plates, or an official microwave flower press.
- Rubber bands or microwave-safe clips: To keep your “sandwich” secure.
- Fresh flowers: Think pansies, daisies, violas, ferns–avoid thick, succulent blooms at first.
Optional Gear
- Microwave flower press: The Microfleur Regular ($39, Amazon, 2026) and the Prepworks Microwave Flower Press ($21, Target) offer better results for frequent crafters.
- Scissors or snips: For trimming stems and petals.
- Heat-resistant gloves: For safe handling.
Safety Notes
Microwaving organic material can singe or burn. Never use metallic objects or glossy/magazine paper. Keep an eye on your press during microwaving, stopping at the first hint of browning or smoke.
Step-by-Step: How to Microwave Press Flowers
1. Prep the Flowers
Trim stems and remove bulky bits. Thinner petals press more cleanly. Blot away any surface moisture with a paper towel.
2. Make Your “Press Sandwich”
Layer as follows:
- Bottom tile or plate
- Absorbent paper (coffee filter or paper towel)
- Flat flowers or leaves, face-down
- Second layer of absorbent paper
- Top tile or plate
Secure with rubber bands or clips.
3. Microwave in Short Bursts
Start with 30-second intervals at medium power (~700W). Check after each burst. For thin petals: usually 60-90 seconds total. For thicker flowers: up to 2.5 minutes.
Signs They’re Done:
- Flowers feel dry and papery.
- Color is bright, not faded.
- No steam when opening the sandwich.
4. Cool and Finish
Let your pressed flowers cool in the press for a minute before handling. They will stiffen as they cool and are ready to use in crafts, stationery, or décor.
5. Troubleshooting
- Flowers browned? Microwave was too hot or run too long. Try lower power next time.
- Petals curling? Too much moisture left. Add another 30 seconds.
- Paper sticking? Use smoother paper or let the flowers cool more before removing.
Best Flowers and Leaves for Microwave Pressing
Not all plants press equally. Here’s what works (and what doesn’t):
Top choices:
- Pansies, violas, cosmos, daisies, ferns, oak leaves
- Queen Anne’s lace, larkspur, forget-me-not, delphinium
Tricky ones:
- Succulents, lilies, thick roses, tulips
These may require slicing in half or removing inner petals.
Florist April Munroe, of Wild Petal Co. (Denver, CO), recommends:
“Stick to single-layer petals your first time. Pansies and ferns almost always come out beautifully.”
Microwave Flower Pressing in Floral Art and DIY Gifts
Pressed flowers are more than keepsakes–they’re at the heart of a $360 million US pressed flower craft industry (Statista, 2026). Here’s how American crafters and florists are using microwave-pressed blooms:
Fast Wedding Keepsakes
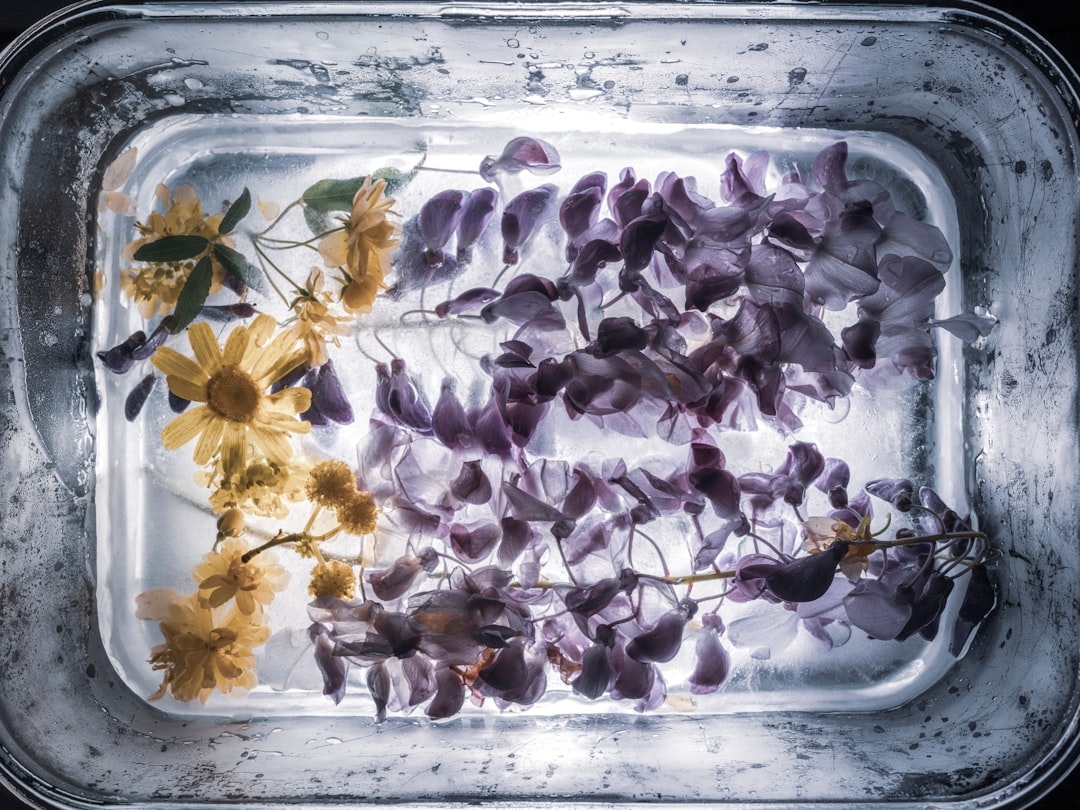
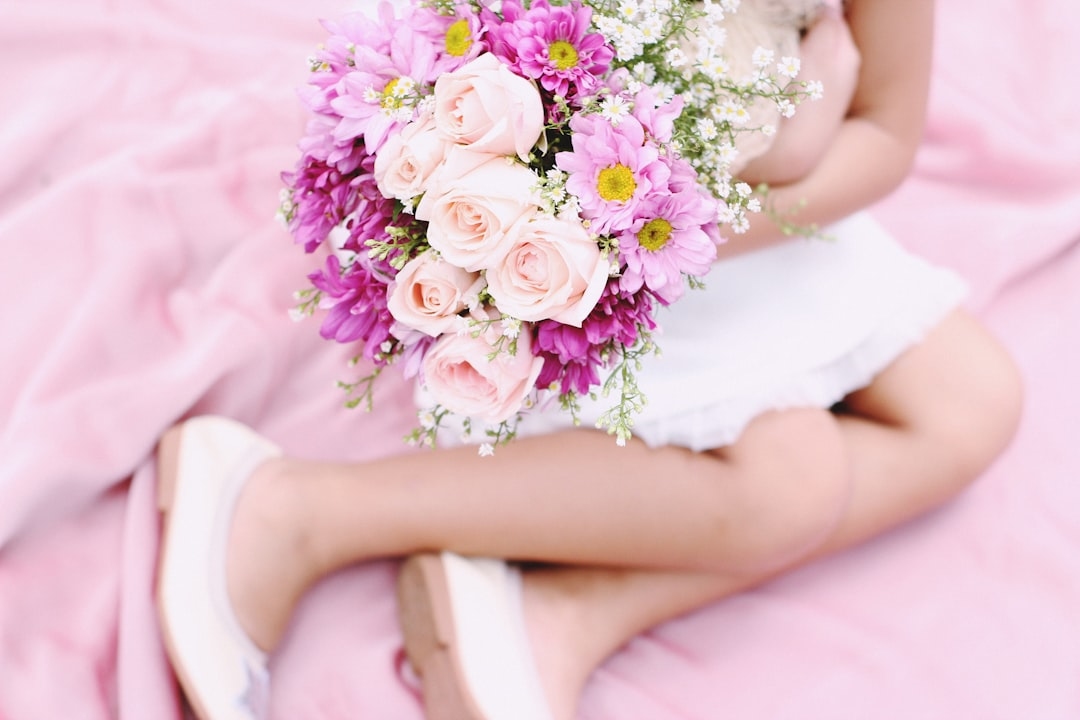
Florists now offer “same-day” pressed bloom options for bridal bouquets. Imagine gifting a framed pressed boutonniere by the end of the reception.
Greeting Cards and Scrapbooks
Pressed blooms adorn everything from birthday cards to journals–a personalized touch you can create in minutes.
Wall Art and Decor
Arrange pressed flowers on watercolor paper, seal under glass, and you’ve got instant home décor. Etsy shops report microwave-pressed flowers outsell traditional ones 2:1 due to more vivid colors (Etsy Marketplace Data, 2026).
Microwave Flower Presses: What’s Worth Buying in 2026?
You can DIY your press for under $5, but frequent crafters may want better results. A few top-rated options:
- Microfleur Regular ($39, Amazon, 2026): Reusable, evenly presses up to 6” blooms. Microwave safe, dishwasher safe.
- Prepworks Microwave Flower Press ($21, Target, 2026): Simple and compact; perfect for small projects.
- DIY Method (< $5): Coffee filters, ceramic tiles, rubber bands–works nearly as well, takes a few extra seconds.
Quote from Jenny Patel, horticulturist at University of Georgia:
“A purpose-built microwave flower press saves time on alignment and gives pro-level results, but the DIY version is fantastic for beginners.”
Common Mistakes and How to Avoid Them
Too Much Heat
Microwave ovens vary. Always start with lower power and short bursts. Browned, scorched petals are the number one beginner mistake.
Wrong Paper
Never use waxed, glossy, or printed paper; ink may transfer, and wax can melt.
Overcrowding
Pressing too many blooms at once leads to uneven drying. Stick to 2-5 per batch.
Preserving and Displaying Your Microwave Pressed Flowers
Storing for Later
Keep extras in wax paper or glassine envelopes, stored dry and flat, away from direct sunlight. Unused pressed flowers last for years–up to a decade if stored properly.
Sealing and Mounting
For crafts, brush pressed blooms gently with Mod Podge or acrylic medium before mounting on cards or paper. To frame, use acid-free backing and UV glass for maximum longevity.
FAQs about Microwave Flower Pressing
How long does it take to microwave press flowers?
You can press most flowers in 1-3 minutes using a microwave, compared to 2-4 weeks with traditional book-pressing methods.
What are the best flowers to press in the microwave?
Thin, flat blooms like pansies, violas, daisies, cosmos, and ferns work best. Avoid thick or fleshy flowers unless you split them or remove inner petals.
Is microwave flower pressing safe?
Yes, as long as you use microwave-safe materials (no metal or plastic), monitor the process closely, and avoid overheating. Always use paper without ink or coatings.
Will microwave pressing work with leaves?
Absolutely. Ferns, oak, maple, and birch leaves press beautifully in the microwave, often keeping their color better than with traditional methods.
Do I need a special microwave flower press?
No, but a purpose-built microwave flower press (like Microfleur or Prepworks) can improve results and speed for frequent crafters. DIY presses work well for occasional use.
Ready to Try It? Make Your Next Flower Gift Last
Next time you’re given a bouquet–or spot the perfect wildflower–grab your microwave instead of a heavy book. With a few basic supplies, you can create lasting floral art in mere minutes. Experiment with different petals and papers, and consider investing in a microwave flower press if you catch the bug. For crafters, parents, or anyone seeking a little flower magic, the speed method opens up a whole new world of creativity–one pressed bloom at a time.